5 key steps to start your needlepoint without getting your threads tangled!
Have you just fallen in love with one of our canvases or one of our SEG or Margot de Paris kits?
Thank you for your purchase! Needlepoint is the ultimate “slow-life” activity: simple, rewarding, and ultra-creative. But to keep the enjoyment from the first stitch to the last, there are a few golden rules to know.
Where should you start? Which stitch should you use? How do you avoid knots?
Here is our expert advice to help you get your project off to a great start.
1. Prepare your workspace
A good start begins with a proper setup:
Before making your first stitch, make sure you have good lighting. Needlepoint requires precision, and your eyes will thank you.
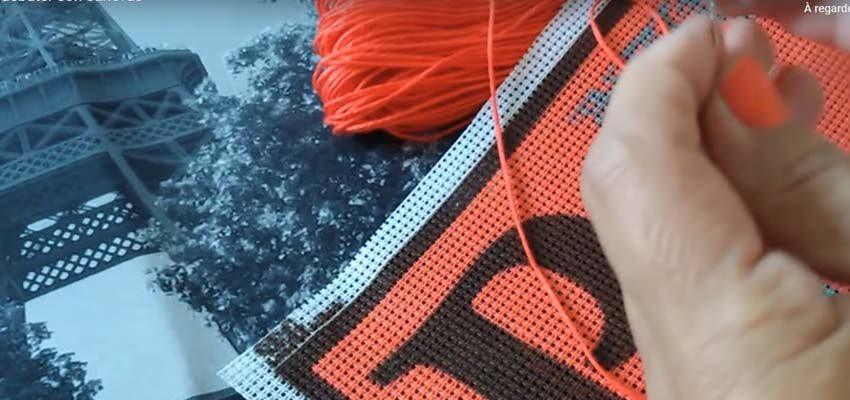
The ideal thread length: don’t go too big! A strand should measure about 40 to 50 cm (the distance between your fingers and your elbow). A thread that is too long will fray, tangle, and wear out as it passes through the canvas.
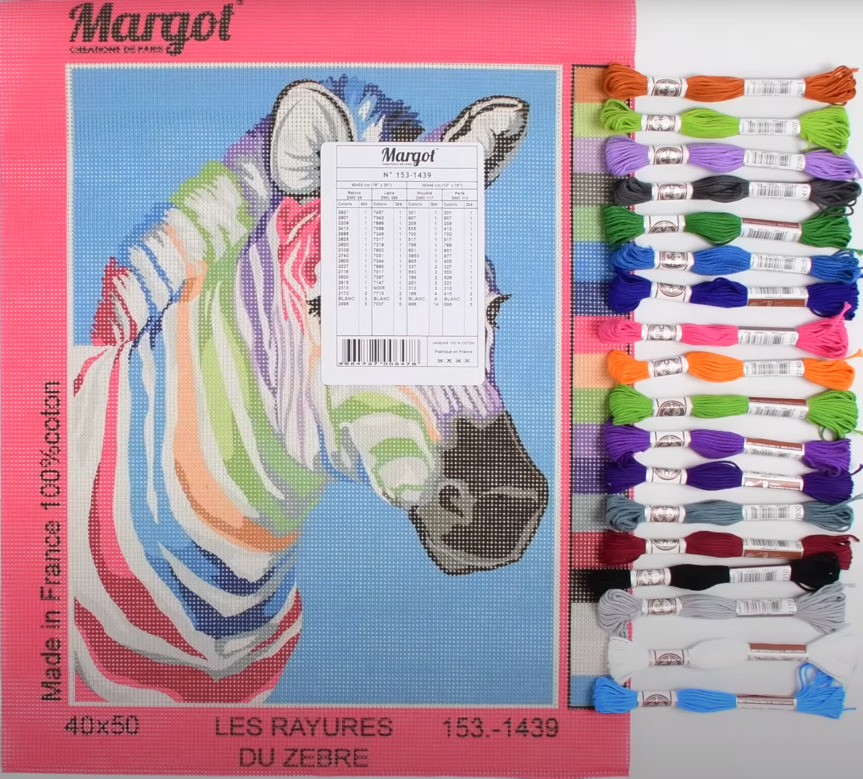
Check your colors: before you begin, compare your threads with the colored margin (the color chart) of your canvas. This will help you avoid confusion between two similar shades such as two navy blues.
Protect the edges: if you are not stretching your canvas on a frame, you can put some adhesive tape (like painter’s tape) on the edges to prevent the canvas from fraying and snagging your clothes. This is especially recommended for large projects!
2. Where should you start on the canvas?
4 guidelines to get started:
- 1. Reading direction: for right-handed people, it is recommended to start from the top left, and the opposite for left-handed people, to prevent your hand or forearm from rubbing against already embroidered areas.
- 2. Color order: ideally start with dark colors. Finishing with light colors (white, cream, pale pink) helps keep the thread bright for longer without the risk of transferring dust or dark lint.
- 3. Foreground or background? Ideally, embroider the main motifs (foreground) first before filling in the background. Start with the simple details of the design, which will not draw too much attention if the first stitches are less regular.
3. Technique: which stitch for which thread?
Through our network of distributors, a wide range of threads is available.
- ● Retors cotton or Colbert wool: use the Half Stitch (a simple diagonal stitch).
- ● Pearl cotton or stranded cotton: for a more covering result, the Cross Stitch is often used.
- ● Straight Stitch: ideal for certain details or to add relief to specific elements of the design.
4. Starting and finishing your thread neatly
Purists will tell you to avoid knots, as they create bumps on the back that can prevent perfect framing.
That said, when you are starting out, a few knots may happen and it’s not a big deal!
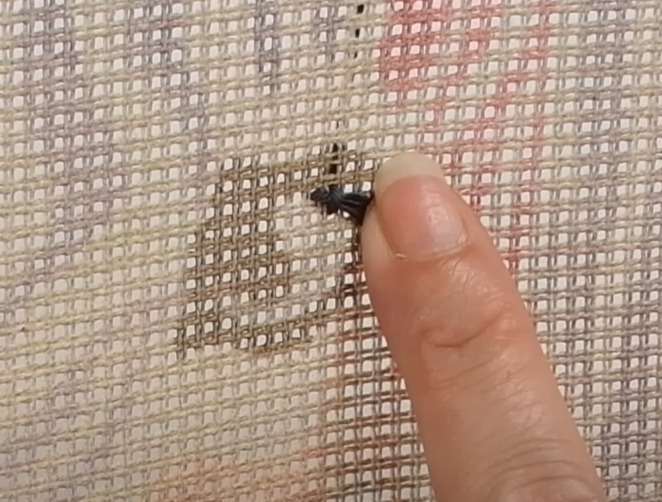
- To start: insert your needle and leave 2 cm of thread on the back. Hold it with your finger and embroider your first 4 or 5 stitches over it to secure it.
- To finish: once your thread is almost finished, pass your needle under the last 3 or 4 stitches already embroidered on the back, then cut close to the fabric. It’s clean, strong, and invisible.
5. Things to avoid for a beautiful needlepoint result
- ● Avoid jumping across areas: if you finished one color and the next area of the same color is more than 2 cm away, do not pull the thread across the back. Finish your thread and restart further away. This prevents wasting thread and creating tension in the canvas.
- ● Never use water: never wash your canvas! The coating of the canvas and the printed colors may bleed. To clean it once finished, simple dusting with a vacuum cleaner (using a soft brush attachment) is enough.
Additional tip:
If your canvas feels stiff at the beginning, don’t worry: it will soften as you work.
Remember that needlepoint is above all a relaxing moment. Don’t aim for immediate perfection; the charm of handmade work also lies in its small imperfections!
Ready to stitch?
Discover our SEG de Paris and Margot de Paris designs in our catalogs!
Loisirs créatifs | 4 February 2026